

If you’re foraying into the world of building and modding your own vapes, you may be feeling a little overwhelmed. After all, there are a lot of options available out there for you to try. To start out with, you should focus on the type of vape you want to use. Generally speaking, the categories of different vapes are:
- Ciga-likes
- Pod systems
- Pen Vapes
- Mods
Once you have distinguished what type of vape it is you want to use, or that you currently have, you can move onto the set up. If you do not yet own a vape kit and you’re also looking for CBD options for your vape, check out resources from reputable vendors like vapeandjuice.co.uk for some examples of how to set up your kit.
1) Batteries
Regardless of whether you have a device with a built-in battery, or external ones, your device won’t operate unless your batteries have been charged. For built-in batteries, all you have to do is plug the device into a wall adapter and leave it to charge. When it comes to mods that require external batteries, you will want to purchase a battery charger. Typically they cost around $20, depending on where you shop.
If you are deciding on whether you want to buy a device with internal or external batteries, there are a few things to consider:
- Internal batteries, like with a pod device, make it easier to charge your device and go. You won’t have to fiddle with a charging station or external batteries. But, when that built-in battery decides to kick the bucket. any store associate will tell you it just makes more sense to buy a new device as the labor to replace the battery outweighs the value.
- With external batteries, like a box mod, you will need to purchase a charging station, and it is advised to have extra batteries on hand. However, if the batteries kick the bucket and you have to replace them, it is as easy as going to a vape shop and buying them. That way you aren’t having to replace an entire mod.
Once this has been considered, and you have decided which route you’re going to go, it is time to consider your coils.
2) Setting Up Your Coils
This factor will be entirely based on the type of tank you have with your device as different model tanks have different means of changing the coils. Some simply require you to pop the coil out of the bottom of the tank, put a new one in, and let the juices soak into the cotton before use.
If you have bought a starter kit, then you are probably required to take the tank apart to change out your coil. Typically, the tank will screw apart – you will not want to do this if the tank is full of juice though. Once the tank has been screwed apart, you will find where you can screw the coil into the bottom of the tank, piece it back together – making sure it is tight but not too tight – fill the tank with juice through a port at the top of the tank, and let it soak for a few minutes before use.
- Note: You absolutely want to give your coils enough time to soak in the juice before use. If not, you will likely burn the cotton and ruin the coil itself because you will never get a flavorful hit out of burnt cotton. Take your time. It is advised to leave the cotton to soak for at least 10 minutes to ensure it has soaked thoroughly.
- Note: Make sure you have installed the coil correctly. If you haven’t, your device is likely to not work the way it should. If you are unsure and need assistance, there are a number of sites online with plenty of info, or you can visit your local shop and they will walk through it with you.
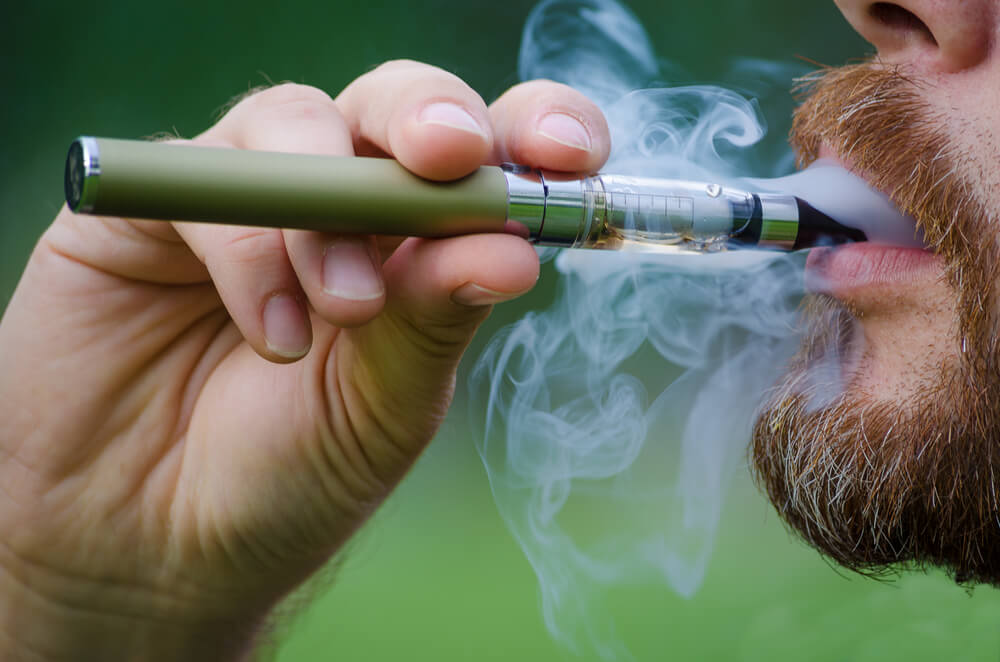
3) Picking Your Juice
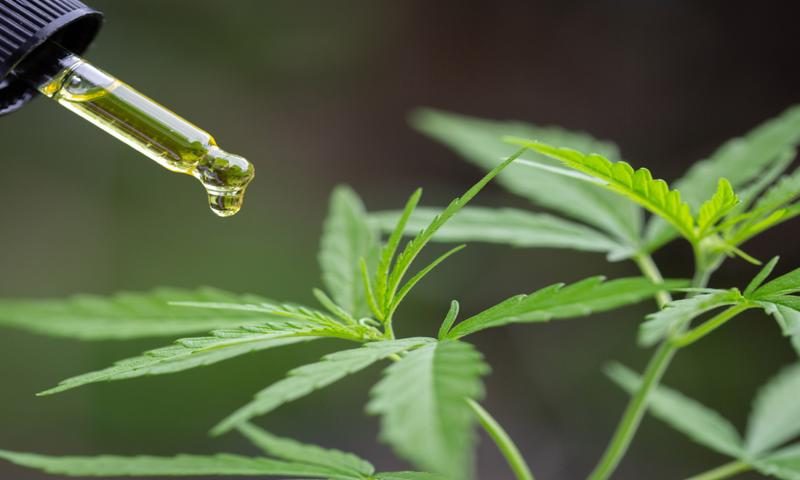
One benefit of choosing to vape over a pack of cigarettes is the sheer number of e-juice choices you have to pick from. There are so many flavors out there that vary from tobacco, to dessert, to even fruity cereal if you’re into that. And, with the growing cannabis market across the states, many people have been turning to CBD e-juice.
If vaping CBD oil is something you are interested in, it wouldn’t hurt to talk to an experienced associate at a local shop, or doing some research online to find the best product for you to try.
- Note: It might be best to start off at a lower nicotine level like 3mg or 6mg before getting into 12mg or 18mg. Your lungs will need time to adjust to vaping instead of smoking, and starting off on a lower nicotine level might be less harsh on your lungs.
4) Adjusting Your Wattage
This one also varies based on the type of device you have. If you have a pen, ciga-like, or certain pod devices, then this will not pertain to you.
Typically, if you have a box mod, your device will have a screen on it, along with a fire button and two smaller buttons. The two smaller buttons will adjust your devices wattage setting, but you have to be careful here. If the wattage is too high, it can drastically shorten the life of your coils and cause dry hits. If you are unsure of what wattage your device should be at, take a look at the coil you have installed. The coils will say something along the lines of “best 40-50W,” so now you know the coil operates best between 40 and 50 watts.
- Note: If your device ever asks you “Is this a new coil?”, always press yes, or your “+” button. The reason for this is because the device has sensed a change in ohms resistance and needs to adjust to that change. This might seem minute, but it will save you money in the long run as it will help your device and coils last longer.
Summary
Setting up your own vape kit is extremely easy and can be done in less than 20 minutes. If you take your time soaking the coil, and adjusting the watts to suit your needs, you will likely be able to enjoy a flavorful hit time and again. If you are interested in using CBD e-juice in your vape, check out a local dispensary as they will be able to give you plenty of insight and will might have the products you are looking for.